• Skip to main content
  • Skip to primary sidebar
life{in}grace

life{in}grace

live with more presence, passion, & purpose

  • Home
  • About
    • Contact
  • Work with Me
    • Courses
    • Life Mentoring School
    • LIVE Event – Your Best Beautiful Year – January 4, 2020
  • Natural Healing
    • Get Started
    • Essential Oil Resources
  • Free Resources
  • Podcast
  • Books

crafts

What Happens When You Offer Your Work to the World

January 21, 2015 by Edie Wadsworth 10 Comments

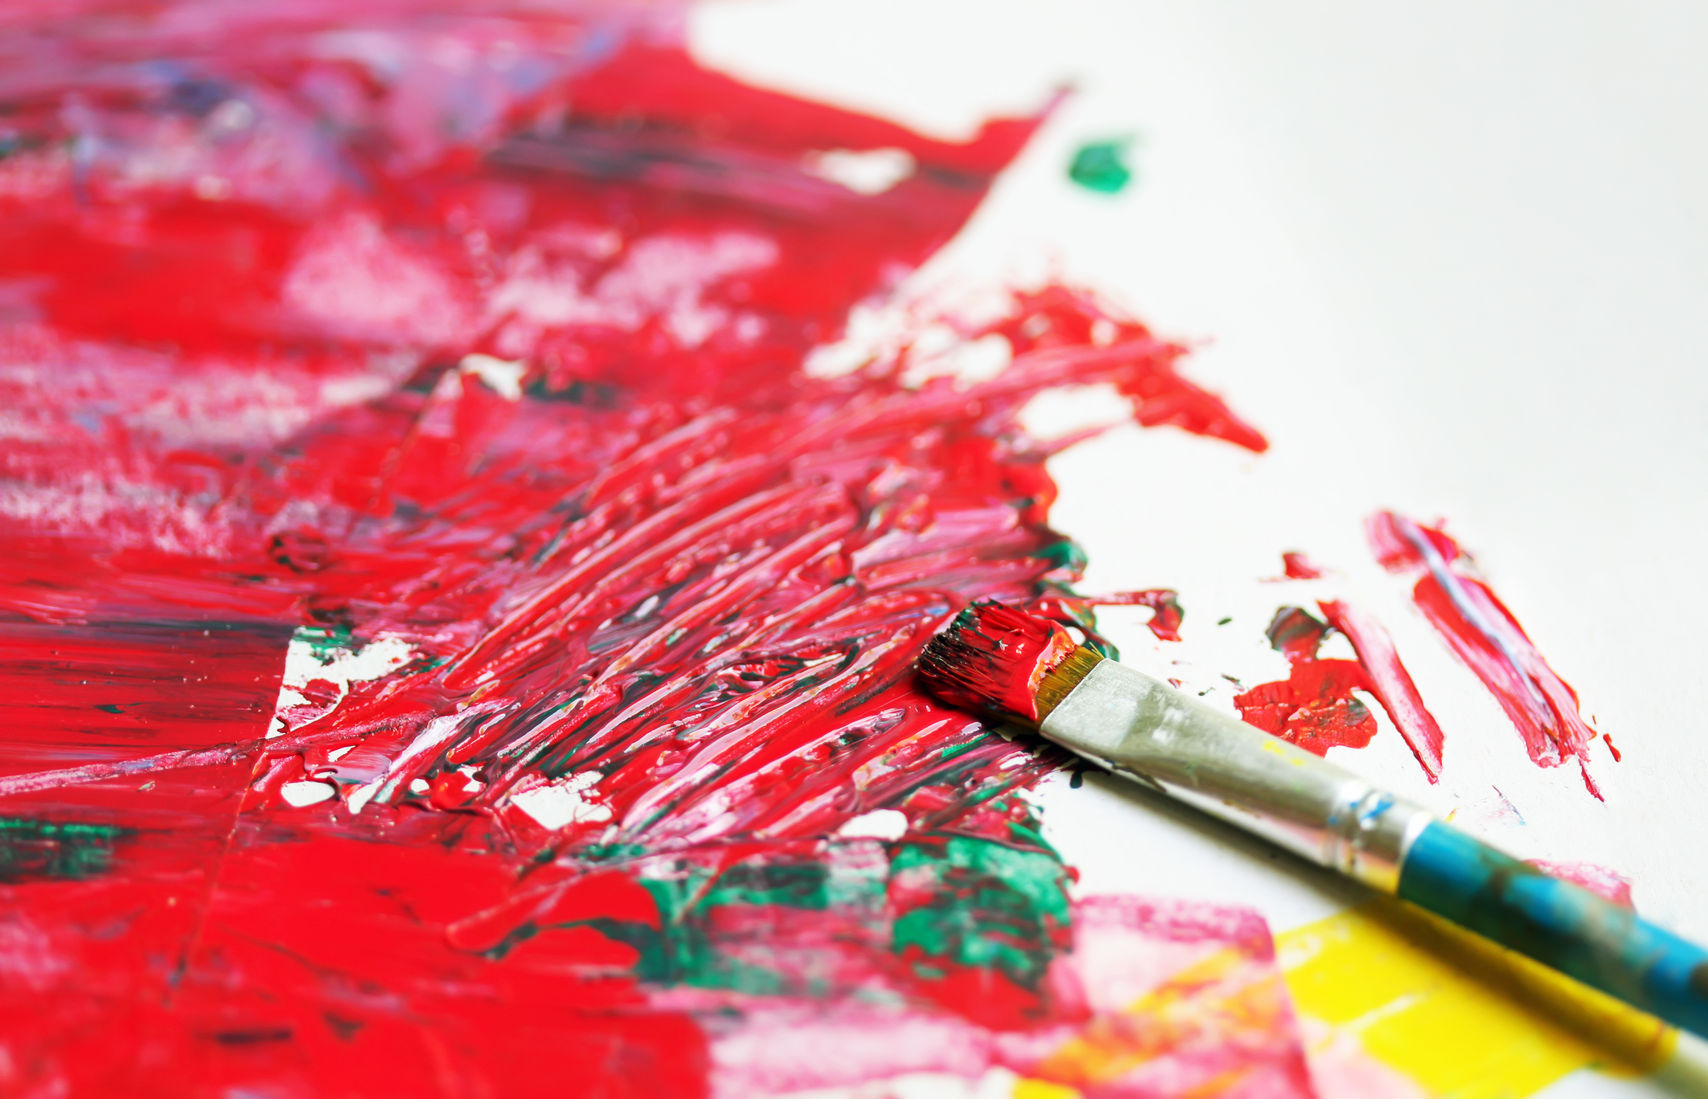
An artist is someone who uses bravery, insight, creativity, and boldness to challenge the status quo. And an artist takes it personally.  Art is a personal gift that changes the recipient. The medium doesn’t matter. The intent does. Art is a personal act of courage, something one human does that creates change in another.   ~Seth Godin

yourrealself

When I was 16 years old, I was asked to speak at an FCA camp and share the story of how I came to faith.  I remember getting motion sick on the rickedy bus that wound around country roads because I was feverishly writing out my heart on a red spiral bound notebook, jotting down things I didn’t want to forget to say.  I wrote FCA is huge bubble letters on the cover of the notebook and filled every page with doodles and journal entries and bubble letters and feeble attempts at angsty high school poetry.  I carried that notebook around like it was a baby, often clutching it to my chest while I walked between buildings at the camp.  I kept that notebook for 25 years until our house fire.

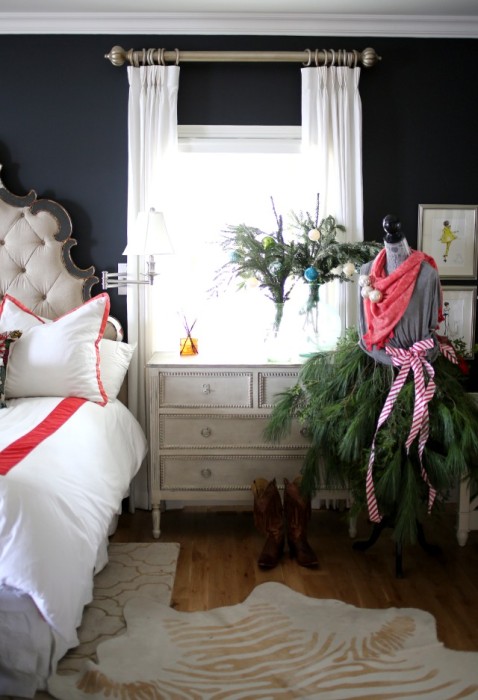
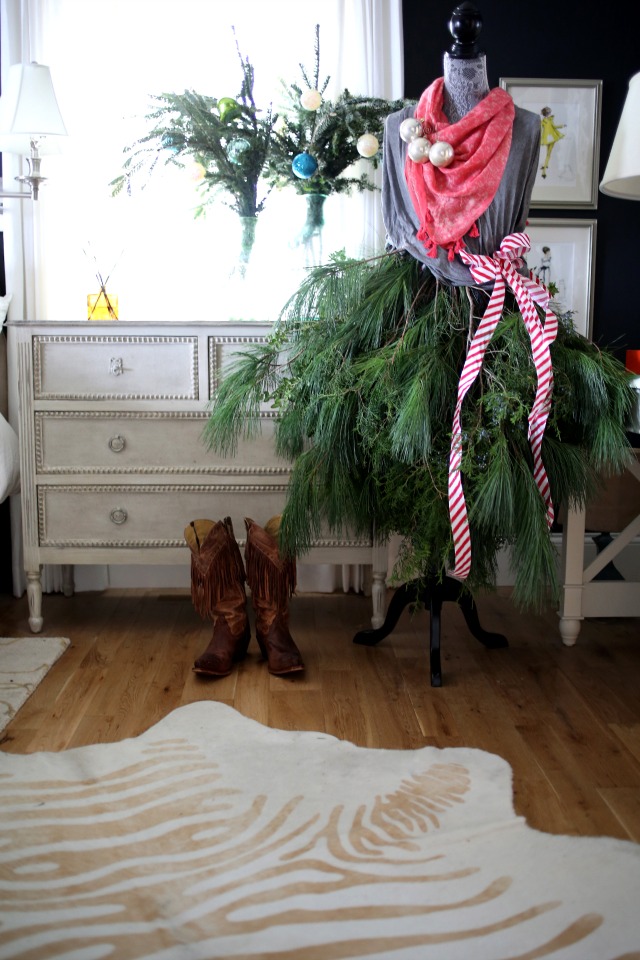
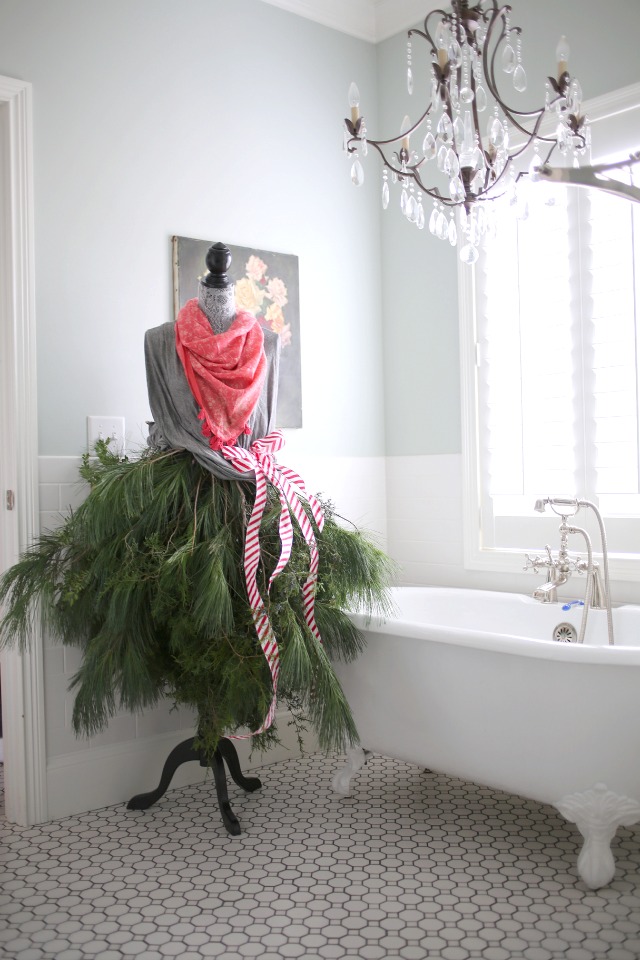
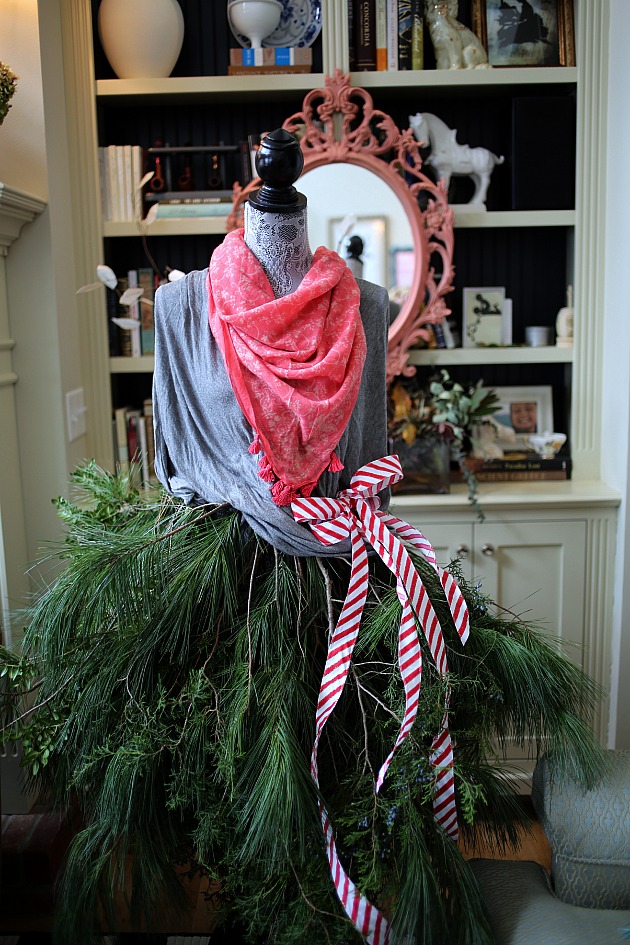
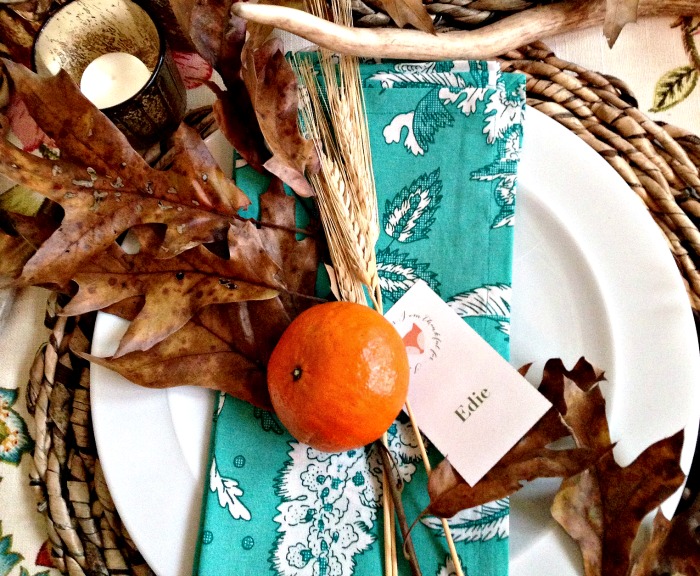
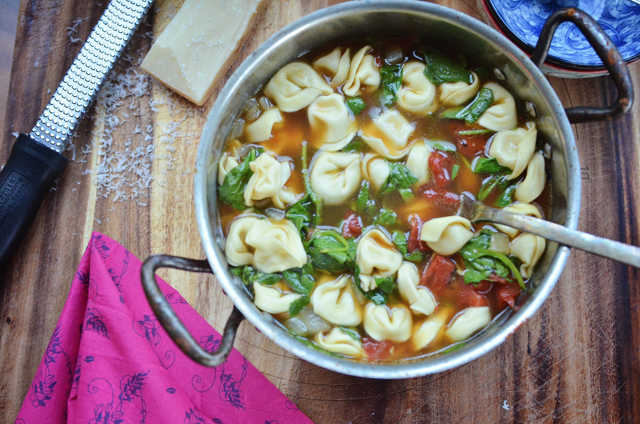
Why? Because it was the first “art” I remember offering to the world.  It was the first time I shared my story and the first time I saw the power of offering my heart and creativity to other people.  Pretty soon I bought my first glue gun and was making fabric covered journals and photo albums and spending HOURS getting it all just right.  Then I learned to cross stitch.  Then I learned to sew.  And pretty soon, I saw what a gift it is to use your own hands and your own ideas to love your people.  So when I make soup?  That’s my personal gift of art.  When I redecorate my bedroom or write an essay or take a beautiful picture?  I’m offering a personal gift, an act that I hope changes in some small way, the one who receives it.   Here’s why I think you should offer your art, your work to the world.

29624020_ml

It Sustains You

The things that I do that are creative—cooking, writing, knitting, sewing, gardening, decorating, etc—those things are sustaining.  They give back as much as they require. They feed my soul and force me to be present in the moment.  When I do things with my hands, it grounds me in the world and takes me out of my own head.  There is nothing so comforting to me as to use the work of my hands to make something beautiful, meaningful.  It’s a good antidote to the modern life of gadgets, constant communication, and running to and fro.  I crave down time so I can use my hands to make something.

placesetting

It Sustains Your People

So much of our art and work nourishes other people.  We make food, we paint pictures, we write words, we grow vegetables, we make things pretty—we use the work of our hands to care for others, to inspire them, to love them. It’s the kind of thing money can’t buy.  It’s the kind of personal gift that no one else can give to them in quite the same way and you do.

cheesetortellinisoup1

It Inspires Others to Do the Same

This is my favorite thing about blogging world. I’m so motivated, encouraged, and inspired by so many amazing women who are offering their gifts to us everyday—teaching us to cook, clean, organize, paint, write, save money, decorate, and a million other things.  I’m so thankful for this space, for the people who are brave enough to do good work and share it.  It make me want to do the same.

*******************************

YLbelowpost

Filed Under: crafts, Decorating

Summer’s Dawn

June 2, 2014 by Edie Wadsworth 14 Comments

summersdawn

I get all philosophical and teary eyed in June because it’s just so undeservedly beautiful.  I was made for June.  We’re soul mates. June stirs up an ache in my soul that only Lewis has ever accurately described.

“In speaking of this desire for our own faroff country, which we find in ourselves even now, I feel a certain shyness. I am almost committing an indecency. I am trying to rip open the inconsolable secret in each one of you—the secret which hurts so much that you take your revenge on it by calling it names like Nostalgia and Romanticism and Adolescence; the secret also which pierces with such sweetness that when, in very intimate conversation, the mention of it becomes imminent, we grow awkward and affect to laugh at ourselves; the secret we cannot hide and cannot tell, though we desire to do both. We cannot tell it because it is a desire for something that has never actually appeared in our experience. We cannot hide it because our experience is constantly suggesting it, and we betray ourselves like lovers at the mention of a name. Our commonest expedient is to call it beauty and behave as if that had settled the matter. Wordsworth’s expedient was to identify it with certain moments in his own past. But all this is a cheat. If Wordsworth had gone back to those moments in the past, he would not have found the thing itself, but only the reminder of it; what he remembered would turn out to be itself a remembering. The books or the music in which we thought the beauty was located will betray us if we trust to them; it was not in them, it only came through them, and what came through them was longing. These things—the beauty, the memory of our own past—are good images of what we really desire; but if they are mistaken for the thing itself they turn into dumb idols, breaking the hearts of their worshippers. For they are not the thing itself; they are only the scent of a flower we have not found, the echo of a tune we have not heard, news from a country we have never yet visited.” C.S. Lewis, The Weight of Glory [Read more…] about Summer’s Dawn

Filed Under: crafts

Bedazzled Mannequin {aka Mrs. Tumnus, the Faun}

December 3, 2013 by Edie Wadsworth 75 Comments

mrstumnus

I’ve had my eye on this project for at least 3 years.  Finally, my bedazzled mannequin dreams have come true.  I want one in every room, much to Stevie’s pain and suffering.

The first thing you should know about this project is—it’s prickly.  The second thing you should know is that your mannequin must be evenly weighted with greenery, lest she fall in the middle of the night and prickle your husband to death.  The third thing you should know is that all the trouble is totally worth it. As we were bedecking here with branches, she kept toppling over.  We solved this problem by stuffing boxwood into her backside.  Baby’s got back.

Y’all.  I LOVE my faun lady.  I’ve named her Mrs. Tumnus,  because I think she pairs well with Mr. Tumnus, from The Lion, the Witch, and the Wardrobe.   I do believe that this is my favorite project of all time ever.  I say that for every project, but let’s pretend I don’t.

My friend, Tammy and I, tackled this, from the multitude of examples on Pinterest.  We had  the determination of Rocky Balboa and  the spirit of Sanford and Son. We wired the tops of the branches together and then wound some ribbon through them and tied them on. That makes it sound easy, which it wasn’t, but it wasn’t hard either.

Here’s what I need to know from you.

Should we keep her in the bedroom? (Stevie may veto this, but who knows, maybe he’s always had a fondness for faux fauns.)

mrstumnus2

In the master bathroom? (She looks so pretty in here, because of the light walls and sparse decor!)

mrstumnus3

Or in the living room, by the mantle?


mrstumnus4

The only other thing I’m worried about is that she’s wearing my red scarf and my pajama shirt, which I may not be able to live without.  In other words, she may have to change clothes.

Okay, what’s your vote?

Filed Under: crafts, Decorating, DIY, holidays

12 Days of Handmade Christmas (all in one day!)

November 11, 2013 by Edie Wadsworth 9 Comments

12 Days of Handmade Christmas via lifeingrace

I’ve hosted the 12 Days of Handmade Christmas for the last few years, but this year, I had too many deadlines.  So, instead of 12 Days, I’m sharing my favorite 12 projects from the past few years, including a few I posted this year.    Hope you will find some inspiration for making the holidays more meaningful and more handmade.  Enjoy!

For a full list of the past projects, 12 Days 2009, 12 Days 2010, 12 Days 2012!

1.  The Handmade Dishmat

I’ve made this project so many times.  It’s my favorite thing to give for Christmas, with my favorite cookbook wrapped inside.  This mat takes about an 1 1/2 and everyone I’ve ever made one for LOVES it.  I have my friend, Darby, to thank.  It’s the gift that keeps on giving.  My sister just made me one and I’m in heaven!

12 Days of Handmade Christmas via lifeingrace

2.  The Linen Flower (Pin)

This is my new favorite project.  They’re so fun to make and are perfect plate/table decorations as well as beautiful flower pins.  They take 1-2 hours to make.

12 Days of Handmade Christmas via lifeingrace


3.  Large Zippered Make-Up Bag

Thank you to Miss Jan for this awesome project! I’ve made it for gifts many times and it’s easy and fun and easy to personalize!

12 Days of Handmade Christmas via lifeingrace

4. Large Photo Prints (mounted to foamboard)

These would make great gifts for kids, teens, or adults.  They’re so easy and so personal!

12 Days of Handmade Christmas via lifeingrace

5. DIY Alphabet Crayons

Thank you, Meg, for sharing this awesome project so many years ago.  So colorful and fun, just like Meg!

12 Days of Handmade Christmas via lifeingrace

6.  Fabric Camera Strap

I’ve made plenty of these, too! They’re so easy and make the perfect gift for your friends who love their cameras!  Cheryl shared this project with us several years ago and it’s still one of my favorites!

12 Days of Handmade Christmas via lifeingrace

7.  Hand-knit Dishcloth

This is THE perfect time of year to learn to knit and this is THE perfect project on which to learn.  These make wonderful little gifts wrapped up in soaps or homemade dish soap!

12 Days of Handmade Christmas via lifeingrace

8. DIY Felt Scarf

Thank you, Julie, for sharing this project last year.  I’m determined to make one this year and can’t wait to try one in a gold/mustard color!

12 Days of Handmade Christmas via lifeingrace

9.  DIY Monogrammed Candle

Amy shared this project during our very first 12 Days and it’s still THE most popular 12 Days post. (Thank you, friend!) Make one or 12 for your favorite family and friends!

12 Days of Handmade Christmas via lifeingrace

10. Grannie’s Homemade Fudge

This is my favorite gift to give away.  And my favorite holiday treat to make.  It’s so easy and SO delicious!  Thank you, Grannie!

12 Days of Handmade Christmas via lifeingrace

11. DIY Crayon Roll

The super talented Lindsey shared this post with us and it’s been one of the most popular of the 12 Days posts.  Make some for traveling gifts for your own littles or for all the lovely littles in your life.  Thank you, Lindsey!

12 Days of Handmade Christmas via lifeingrace

12.  Homemade Honey Wheat Bread

Perhaps, THE perfect Christmas gift!  I usually gift it with some homemade strawberry jam or local honey.  It’s love at first bite.  I get these clear cellophane bags from Amazon and give bread away all year!

12 Days of Handmade Christmas via lifeingrace

Have you made any of these projects?

What’s your favorite (easy-ish) handmade gift to give to others?  Leave links or descriptions in the comments.

Happy Veterans Day and thank you to those who serve our blessed country and to those who love them!

If you’re new around here?  Thank you for visiting my blog!  I’m honored you’re here and I hope you’ll find some encouragement (and some laughter!) for your days.  Visit my about page, which highlights some of my popular posts or will at least show you a peak into my crazy people.  You can subscribe to this blog by email here.  I am currently addicted to Pinterest, so follow at your own risk.  I also post updates to Facebook, Instagram, and Twitter.

Filed Under: 12 Days of Christmas tutorials, crafts, DIY, holidays, tutorials

DIY Large Photo Prints

September 15, 2013 by Edie Wadsworth 30 Comments

DIY large photo prints

DIY large photo prints?  Sort of.  I suppose all in all, this isn’t so much of a Do It Yourself project as it is a Let Hobby Lobby Do It For You project.  But, let’s not argue over semantics.  I had to coordinate this project and it’s pretty cheap— so I’m calling it a DIY.  As you know, I just finished  decorating the teen room, so go see all about it! This little project is just icing on the cake. I’ll tell you all about my thoughts on creating a room for teen/tween, but trust me when I say that art is important.  You want to create a room that is inspiring and expressive.

((Speaking of expressive, see that big poofy red tutu? All I’m gonna say right now is RED tour and Nashville. T-5 days. My girls have voted me mom of the year.))

Emme’s room has a few great artistic pieces,  but to finish the space, we decided to have some oversized photos of her first love, ballet.  We had them printed and then mounted to foam board, for the perfect personal touch.

largeprints2

I first saw Jenny do this a couple years ago and directed my sister to her blog when she wanted to do something similar for her daughter’s room.  There were a few kinks in the mounting process with the thin photo paper wrinkling, so I searched around the internets for more ideas. What I really did was stalk Pinterest.  It has replaced Google as my primary search engine.  I found lots of easy tutorials, but  I decided to check on pricing to have the print shop mount them for me, after reading that Staples can mount them fairly cheap.   The big box store in my town, which shall not be named,  was NOT very nice to me that day.  I wasn’t sure if my favorite local print shop could do them, but I called and he was able to print them but not mount them.  He said Hobby Lobby could do it for about $10-$15, with a high heat process where the photo looks like it is part of the foam board.  So, after I had them printed, I  took them to Hobby Lobby to have them mounted.  They did it WHILE I waited! and just like that, I came home with these awesome oversized prints ready to hang. I’m giddy with how it turned out!  They were about $15 each total, including the printing and mounting. Art made easy.  And cheap.  I embellished the top print with my DIY red emerson flower!

DIY large photo prints

Here are a few tips for creating your own oversized photo prints:

  1. In order to do them this cheaply, you’ll need to print them on engineering paper in black and white.  I price checked my printer and in order to do these in color, it would be about $25 per photo.  I still think that’s reasonable, but black and white worked perfect for us in Emme’s room
  2. Choose photos that would be enhanced by being printed in black and white.  If you’re unsure, just use a free editing program like PicMonkey and convert the photo to black and white and see if you like it.  I edited mine to black and white before I even printed them.  I was very pleased with how they turned out!
  3. Choose the largest size of the photo you can.  I often have to resize photos for my blog, reducing them from say, 4200×2800 to 600×400.  Keep them at the largest size for this project. The more detailed the photo is, the better.  Your print shop  will tell you if the photo size you send  is too small to be printed in these sizes.  I had my photos printed at 36×24.
  4. Email the photo to your print shop (Office Max and Staples both do these, but use your local guy if you have one!) or take it to them on a jump drive.
  5. After the photo is printed, take it to Hobby Lobby and ask them to mount it on foam board.  They can do it while you wait and it looks SO professional.  They use some heating method to adhere the photo onto the board and trim it to perfectly fit.  With your 40% coupon, you can have this done for around $12, including the foam board and the process.  You could buy the materials and do it slightly cheaper yourself, but then I would have to ask, why would you?!  These are so amazing, I promise!
  6. Hobby Lobby sells the sawhorse hangers that can be used to mount the board to the wall.  You could also use 3M hooks or just 3M double sided tape.  One of mine is just taped straight to the wall with the double sided tape because I’ve used 3M over and over without any issues before.  To be super safe, though, just use the sawhorse thingamajigs and hang it right on the wall like a picture frame.

Here’s what those look like, FYI.

DIY large photo prints

Now, please excuse me while I make plans to print oversized photos of my girls, Julissa and Diana!

I’ve got some other great projects and some time tested recipes if you’re visiting from another blog.  Or visit my about page, which features some of my most read posts.  Thanks for stopping by!

Sharing this project with Richella at Imparting Grace and Leslie at Create It Thursdays.

Filed Under: crafts, Decorating, DIY, tutorials

DIY Linen Flower Tutorial {Emerson Flower Hack}

September 3, 2013 by Edie Wadsworth 41 Comments

DIY Linen Flower Tutorial

(my black and white Day Designer is from the talented Whitney English)

DIY Linen Flower Tutorial

I’ve been in love with the Emerson Fry flower pin for years.  I got my first one 3 years ago and now have 3 of them.  Sadly, they do no make them anymore so those of us who are super fans are up a creek, except not anymore!  Since  I still wear mine ALL the time, I decided to deconstruct it (I actually took it apart!) and figure out to make some for a few friends and family.   I’ve had to re-fluff and re-starch mine over the years but they’ve held up remarkably well for as much as I’ve worn them.  About knee deep into this project (which I’ve been working on for a good week), I decided to see if anyone else had made them, and lo and behold, my friend, Amy, from Playing Sublimely, did them with her crafting friends 2 years ago. She is a crafty girl and I’m trying to beg her to be part of our 12 Days of Handmade Christmas this year.  The only difference in our tutorials is that mine may insult you because it’s ridiculously detailed and bossy.

Y’all.  I ADORE these flowers.  They take about an hour to make and it’s WELL worth the time and effort.  I was so impressed with how they turned out.  Also, the red one is my favorite but I’m making navy blue, as we speak, and I want to find some light pink or blue linen too.

My most important advice for this project is DON’T SKIMP on the linen. You need good quality, lightweight linen, which I couldn’t find at Hobby Lobby. You’ll probably have to go to a fabric store, but it’ll be well worth it in the end.  I made a flower with the blue linen from Hobby Lobby that I used to make my skirted tablecloth, and it’s not nearly as pretty as the ones with the fine gauge linen!

Here’s what you’ll need:

  • Lightweight linen  (I had to go to Hancock’s and with 40% off it was still $10 per yard.  You can probably make 4 flowers at least but don’t skimp on thicker, cheaper linen! These flowers sold for $60-70 each and I’m guessing part of the priciness was the cost of the linen.)
  • Navy felt—I couldn’t find the right color navy (for my personal taste) in the squares so I bought a couple yards of navy felt.
  • Good scissors—It makes your life easier if you have good, sharp scissors, especially if you’re gonna make several.
  • Heavy Spray Starch—You will do the bulk of this project at the ironing board because these flowers need plenty of starch to hold their shape
  • Iron
  • Templates  (You can download mine below)
  • Gold Thread and an embroidery needle—used to sew the petals onto the felt.
  • Hot glue—to glue the 2nd navy felt circle
  • Brooch pins


DIY Linen Flower Tutorial

1.  Spray you linen with spray starch and then iron it.  You’ll spray and iron it again, but the more starch you put into the flowers, the better they’ll hold their shape.

2.  Using the template—which you can download here for the actual size of the petals and here for the 80% smaller version—cut out your petals.  You’ll need 10 large ones and 9 small ones.  I’ve provided two different sized templates for this reason.  The larger template is the actual size of the flowers so if you want to trace the shape onto the linen with a pencil, use that size.  I used the 80% smaller version so that I could just hold the template with one hand, and cut around it, leaving a 20% margin.  See below if that confuses you!

edie2

DIY Linen Flower Tutorial

3.  Spray your petals again, crease the bottom like shown below and then iron the crease into the flower.  You want to JUST iron the crease so that the petal curves upward slightly.

DIY Linen Flower Tutorial

4. Keep cutting petals until you have 10 large ones and 9 small ones, spray starching them and ironing the creases as you go.  When you’re ready with your petals, cut out 2 square felt circles.  I used my coffee mug and just traced the bottom and cut it out.  The diameter of my circle is about 3 1/4 inches.

DIY Linen Flower Tutorial

Now it’s time to sew the petals onto the felt.  You’ll do six large petals around the felt circle, somewhat evenly spaced.  You could be precise and mark the circles with six evenly spaced marks but I’m too much of a free spirit for that.  Actually, I tried it, just to be thorough, and it wasn’t worth the worry.  The last 3 I’ve made, I didn’t try to be too precise.

DIY Linen Flower Tutorial

Here’s what it looks like after the first row of six is sewn on.  Next, sew the four large petals that are left onto the felt, staggering them in between the ones already sewn.

DIY Linen Flower Tutorial


You will do the same thing with the smaller petals, staggering them to make it look like petals on a flower!  There’s no exact science here.  With the smaller petals, I do one row of 5 and then finish with four on top.

emerson9
The last row of four, you will sew on with an X stitch to make it look pretty!

DIY Linen Flower Tutorial

The last step is to take your second felt circle and hot glue it to the back of the other circle, to cover up the stitches.  Attach you  brooch pin in between the layers by cutting small slits in the 2nd felt circle and feeding the pin through.  It’s hard to explain so I’ll show a photo of that later today, when the sun is up!

And TADA!! Your lovely linen flower is finished!  I can think of 101 reasons to make a bunch of these and give them as gifts or use them as decoration.  I have two of mine attached to a wreath I made and they look awesome!

Hope you had a great long weekend and try to squeeze some time in for making stuff with your hands this week.  It’s all kinds of fun!

DIY Linen Flower Tutorial

linen

More tutorials?  Sure, I’ve got plenty!

Also, I’m linking today with Beth and Sharon and Cheryl today, so visit there for lots of other DIY projects!

Filed Under: crafts, DIY, tutorials

  • Go to page 1
  • Go to page 2
  • Go to page 3
  • Interim pages omitted …
  • Go to page 6
  • Go to Next Page »

Primary Sidebar

ediewadsworth

Coach. Healer. Life Mentoring School.
💕💕I help women heal & rediscover their purpose & calling.💕💕 Click below for my free purpose field guide!

Dr. Edie Wadsworth|Lifeingrace
2 years ago today, your world shattered into a mil 2 years ago today, your world shattered into a million pieces.

Sometimes I marvel at how we were blessed enough to be there holding you when it all came crashing down. I do know this—I can’t remember my life without you.

I do know that thousands of tears and meals and boo-boos and toy trucks later, we stand in awe of you---your courage, your brave big boy fight, your tender little boy heart, your hilarious old man ways. 

We know how sacred this walk with you is and we don’t take it lightly.

We are here for it all and we couldn’t be more grateful.

We have always loved you and you have always been our special gift.

 Love you little one. Let’s keep listening for Aslan. He will find a way to put everything back together. 

“Herein lies the world. Beautiful and terrible things will happen. Do not be afraid.”
Hiring these two out for all your ring bearer and Hiring these two out for all your ring bearer and flower girl needs.  They provide ample entertainment to your guests and accept plush toys for payment in lieu of money. May or not be VERY strong willed.  And also adorable. @williamsperformance @ginawilliamsh @ameliadurand4
I turned 51 last week and spent a much needed few I turned 51 last week and spent a much needed few days alone with this guy.  As soon as we drove out of the driveway I started crying. I don’t think I realized how much I needed a break.

it was incredible and relaxing and amazing and so life-giving. 

this week it feels like last week was 100 years ago because you know, life. 

I am excited to say that despite the fact that I’m another year older I managed to figure out how to go live on YouTube with my new camera. It only took me approximately 6000 hours. So maybe you’ll join me at noon today on YouTube and we’ll try something new together.

Here’s to 2021. Maybe it will get its act together but if it doesn’t we will get ours together😂🥳❤️❤️❤️
“To have Faith in Christ means, of course, tryin “To have Faith in Christ means, of course, trying to do all that He says. There would be no sense in saying you trusted a person if you would not take his advice. Thus if you have really handed yourself over to Him, it must follow that you are trying to obey Him. But trying in a new way, a less worried way. Not doing these things in order to be saved, but because He has begun to save you already. Not hoping to get to Heaven as a reward for your actions, but inevitably wanting to act in a certain way because a first faint gleam of Heaven is already inside you.”
― C.S. Lewis, Mere Christianity
Got my halo yesterday🤩😇😂 (That ridge lin Got my halo yesterday🤩😇😂

(That ridge line right above my head is the infamous Angel’s Landing)

Here’s to climbing out of tough spots in 2021❤️
What I learned in 2020?? I am HERE FOR ALL THE L What I learned in 2020?? 

I am HERE FOR ALL THE LOUNGE WEAR. 

Amen. Goodnight. 🤩🤩🥳🥳🥳 

Okay fine. Currently sporting sweater from Target which I have worn everyday for 3 months.  Natori PJ’s which I HIGHLY recommend, and Ugg slippers which I’ve worn everyday for a solid year. 

How’s your lounge wear game?? Tell me everything.
Day 2 of LIVE YOUR DREAM starts in 30 min. We’ll Day 2 of LIVE YOUR DREAM starts in 30 min. We’ll be talking all about DESIRE and the difference between false desire and true desire and how true desire leads us to our calling. 

It’s not too late to join us and if you could see the comments inside this group, you would 😭😭😭 and 🥳🥳🥳 because we are getting to the heart of things and it’s only gonna get better! 

If you’re already in, tell us how yesterday’s training impacted you and if you’re not, JOIN US FRIENDS!!

Head over to https://lifeingraceblog.com/dream
We took Tommy boy for this first ski adventure tod We took Tommy boy for this first ski adventure today and it was so satisfying to see him tackle something hard and keep his chin up and have a BALL doing it.

He was very entertaining to his ski school friends, despite the fact that his German instructor couldn’t understand a WORD he said. 😂🥳

But all you mamas out there can see through all the pretty pictures and videos to know that days like today can also be full of frustration.

Making sure everybody has their stuff, the reservations, the snacks, the HASSLE of boots and poles and gloves and skis, the tears, the snappy replies, the hurt feelings, the wrong turns, the missed moments, the potty breaks.

NEED I GO ON??????

But then there’s the down to your soul goodness of being smack dab in the middle of God’s glorious creation, the sheer joy of the wind and sun on your face, the fleeting feeling that everything is right in the world, the triumph of tackling something hard and pushing through all the doubt and fear.

I felt every emotion today. What a privilege to live this life we’ve been given. What grace to live it with these people.

Today was a dream. But like every dream come true, it has a cost, it requires more of you than you think it will. You will want to quit.  A million times.  But what waits for you on the other side is worth fighting for. 

That’s what we’re diving into this week in my online workshop LIVE YOUR DREAM.

You may have given up on setting goals, but don’t stop dreaming.

Come dream with us and let’s make 2021 the year we were willing to be so alive that we would risk feeling EVERY emotion, every setback, every failure in order to see it come true.

We start tomorrow.

It won’t be the same without you.

Join us at https://lifeingraceblog.com/dream.

It’s time to dream again.
❤️❤️❤️❤️❤️❤️

What’s one thing you’re dreaming about this year???
It was magical. ⛄️⛄️⛄️ Know what’s It was magical. ⛄️⛄️⛄️

Know what’s more magical for me???? The week between Christmas and the new year and I’ve made it even more epic by hosting an online workshop called LIVE YOUR DREAM🥳🥳🥳🥳

This one is for the dreamers and the doers!! Join me at lifeingraceblog.com/dream and let’s make some magic❤️❤️❤️❤️

Tell us in the comments if you’re already in!!!
  • Facebook
  • Instagram
  • Twitter

© Copyright 2008-2019 life{in}grace · All Rights Reserved · Graphic Design by Jenna Riccio Laible · Website by Erin Ulrich