
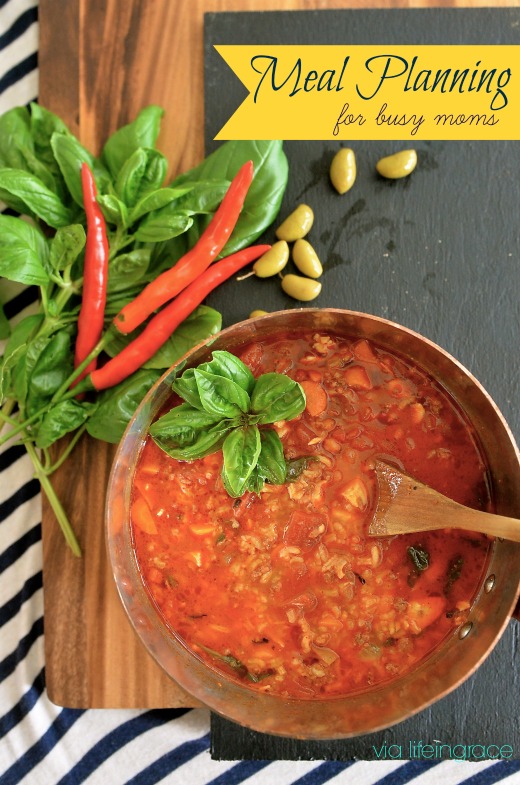
This is part 2 of a 4 part series. Start here with part 1, part 3 (the how), and part 4 (the conclusion) to get the full picture of how to integrate this meal planning guide into your normal routine!
 part series on Meal Planning. Start here!
This was Stevie’s brainchild. I can’t take credit, which kinda makes me mad. I think he was just tired of me asking what he wanted for dinner.
One night while I was clearing the dishes, he said, “Why don’t you just start putting all your recipes into your iPhone and then setting them up to repeat every so often. Seems like that would be the easiest way to never have to wonder what to cook. You’d have a year’s worth of recipes within a couple of months.”
He said it so matter of fact. Like the logical man that he is. Blimey genius. I wasn’t sure if I wanted to smack him or smooch him.
How long had he been holding this golden information? And why does my creative, free-flowing, glitter-lined brain not think of it?
But I finally got around to giving it a try and I think I’m in love. I hope to have a year’s worth of meals planned within a couple of months.
I use Google Calendar (because I like using it better than iCal for this) and then sync in to my iPhone. I’ll give you all the details for how I do it but you could use any system you like.
I’m gonna tell you every step—– so at some point, you’re gonna hate me and say, “I’m not an idiot.” I know you’re not. You’re smart and beautiful and I don’t mean to demean you by writing a tutorial that a 1st grader might scoff at. But I’m writing, not you:) And I like hand-holding tutorials. So, take my hand, dear friend, and I’ll walk you through every painful step.
Using Google Calendar to create a menu—–
1. Create a Google calendar
Sign into Google and find the Calendar link. Google is my home page, so for me, the Calendar option is at the top left side of the home page. Once the calendar has loaded, at the top right, click on ‘month’ so you can see the month at a glance. Google allows you to make subcalendars so that you if you want a separate calendar for menu, it’s easy to do. Then, if you want to see all your calendars together, you just click them. The advantage to creating a separate calendar for the menu is that it makes it easy to share and print out, without having everything else that’s on your schedule show up. In this photo, you can see a portion of my calendar when all my calendars are clicked on.

And if I want, I can choose just to see my menu calendar, which I don’t have photo of but you get the point.
I have separate calendars for cleaning and cooking but everything else is just added to my main calendar. (In the above photo, the left column, you can see color coded labels? ‘Edie Wadsworth’ is my main calendar and then I created sub calendars for meal planning and household chores. Most of the time I have them all toggled to ‘on’ so I can see all my stuff in one place.)
So, to create a calendar, to the left where it says ‘My calendar’, click it and then choose ‘Create New’ and name your new calendar. Right above and slightly to the left of where you named it, you click ‘create calendar.’ Okay, now you have a menu calendar. Hurray for you! (This way, when you complete your monthly menu plan, you can print it out and post it for your family, without the clutter of the rest of the stuff.)
2. Start adding menu items.
I posted some links yesterday to menu options, so we’ll use those as examples. We want to add Greek/Lemon Chicken Soup, so that it looks like this on our calendar.
Go ahead and open the link to the recipe (it should open in another window) and we’ll use it to copy and paste portions of it into the calendar.

First, click on today’s date on the calendar and this window will open.
In the ‘what’ box, put the name of the recipe and then choose which calendar you want it to go into. If you didn’t set up a separate meal plan calendar, it’ll just put it onto your master calendar. Then click, ‘edit event’. This will bring you to a page that looks like this.

Under ‘Repeat’, choose how often you want the recipe to repeat on your calendar. Every family is different. We like lots of variety so I don’t have my recipes ‘repeat’ very often. But if you had every recipe repeat once per month, then it would only take you one month to have a year’s worth of recipes! I chose 14 weeks for this soup and some things that are seasonal, I might choose yearly or every 6 months. You get the idea. It will take me 3 months or so to get a year’s worth of recipes but then I’ll have my meal plan for the rest of my life if I want—then I just tweak it to add new recipes.
Under ‘Description’, you will copy and paste the recipe. For the Greek chicken soup, I just clicked on the link, copy and pasted the ingredients and the directions into this box. You can choose to color code your menu just below the ‘Description’ box under ‘event color’. When you’re done, save it (top left corner) and you’re ready to enter your next item.
If you don’t have a link to the recipe that you can copy and paste, you could type the recipe in. I don’t follow recipes very well so I usually just put a few basic instructions for myself if I’m using a recipe that can’t be copied/pasted. However, if you take the time on the front end to get the recipes in there, then you’ll have them forever. This could come in handy if you’re at the store and need a reminder of what you’re making this week and what ingredients you’ll need, although I think Ziplist just changed all that for me. (I’ll talk about it later this week.)

3. Sync your Google Calendar with your iPhone.
I’m sure there are good tutorials for doing this with other phones but I can only help you with the iPhone. This shouldn’t be as cumbersome as it is but follow along because soon, your recipes and menu plan will be right at your fingertips!
Go to the ‘settings’ menu on your phone and then go to ‘Mail, Contacts, Calendar’. Click ‘add Account’ and add your Google account to your phone. Once you’ve added it, it will show up as ‘Gmail’. Tap Gmail and make sure the calendar setting is toggled to ‘on’.
Now, go to your computer and sign into your Google account. THen click this link and it will let you choose which calendars you want to sync with your phone. Click the ones you want to sync and then click save in the bottom right corner. Now open your iCal on your iPhone and you should have the recipe you just added!
Here’s the screen shot of my iPhone when I click on today’s date—-see the recipe at the bottom?

I don’t know why garbage pick up is on there twice but I’m sure I need the double reminder 🙂
And here’s what I see when I click on the recipe.

Okay, this is all nifty and you’re getting excited about the possibilities, I hope.
Tomorrow, I’m gonna show you how to put it all together with my favorite tips and tricks and a program that will help you in your grocery shopping and you’ll be on your way to being the Menu Planning goddess of the world!
Let me know how your set up goes and I’ll be in the comments today to answer any questions that come up.
While you’re getting it all set-up, let me know if you come up with any other wonderful ideas!