

If you’re new to the ’12 Days’, you may visit the previous days by clicking on the day you like:
Day 10 Cinnamon Honey Butter and Toffee Popcorn
How can it already be day 11? Aren’t you sad that it’s almost over? Me too. But I’m so excited about today’s guest poster. Laura blogs at Along for the Ride and has so many fun projects that I know you’ll want to try. And when I saw her rosette wreath, I knew you’d love it as much as I do. I can’t wait to try one. Make sure to visit her blog for lots of inspiration. Thanks Laura for being with us today!
Hello! I’m Laura from along for the ride. I’m so excited to be sharing this tutorial with you! Earlier in the fall I made my all-time favorite wreath. It’s a super easy tutorial and is easily adapted for any season.

First, gather your supplies.

You will need a wreath form (dollar store!), two colors of fall fabric, glue gun, glue sticks, scissors, and acorns (or any kind of natural elements…pine cones would be pretty, too).
Choose one color to wrap around the wreath form, cut out strips of fabric (mine were about 3 inches wide) and go to town. Use hot glue to attach the fabric strips.


Set your wreath base aside and start making rosettes. There’s lots of ways to do this, so feel free to customize. This is what I did.
I wanted most of my rosettes to be orange with a few baby yellow ones. I cut out long, thick strips (about 2-3 inches) of orange fabric and a couple little strips of yellow fabric.
To make rosettes, tie a knot at the end of the strip, start wrapping and twisting the fabric around the knot, and glue as you go along. It’s very simple once you get the hang out it.
So make a rosette. And then make lots more.


I made large orange rosettes, small orange rosettes, and baby yellow rosettes. The size depends more on the thickness of your fabric than on the length.
Now that you have your acorns and rosettes, it’s time to assemble your wreath. There is no real science here. I just arranged things so it looked pretty. I’m a fan of off-set flowers, but you could fill the entire wreath with rosettes if you wanted, or you could just use a few. I used hot glue to secure all my elements.


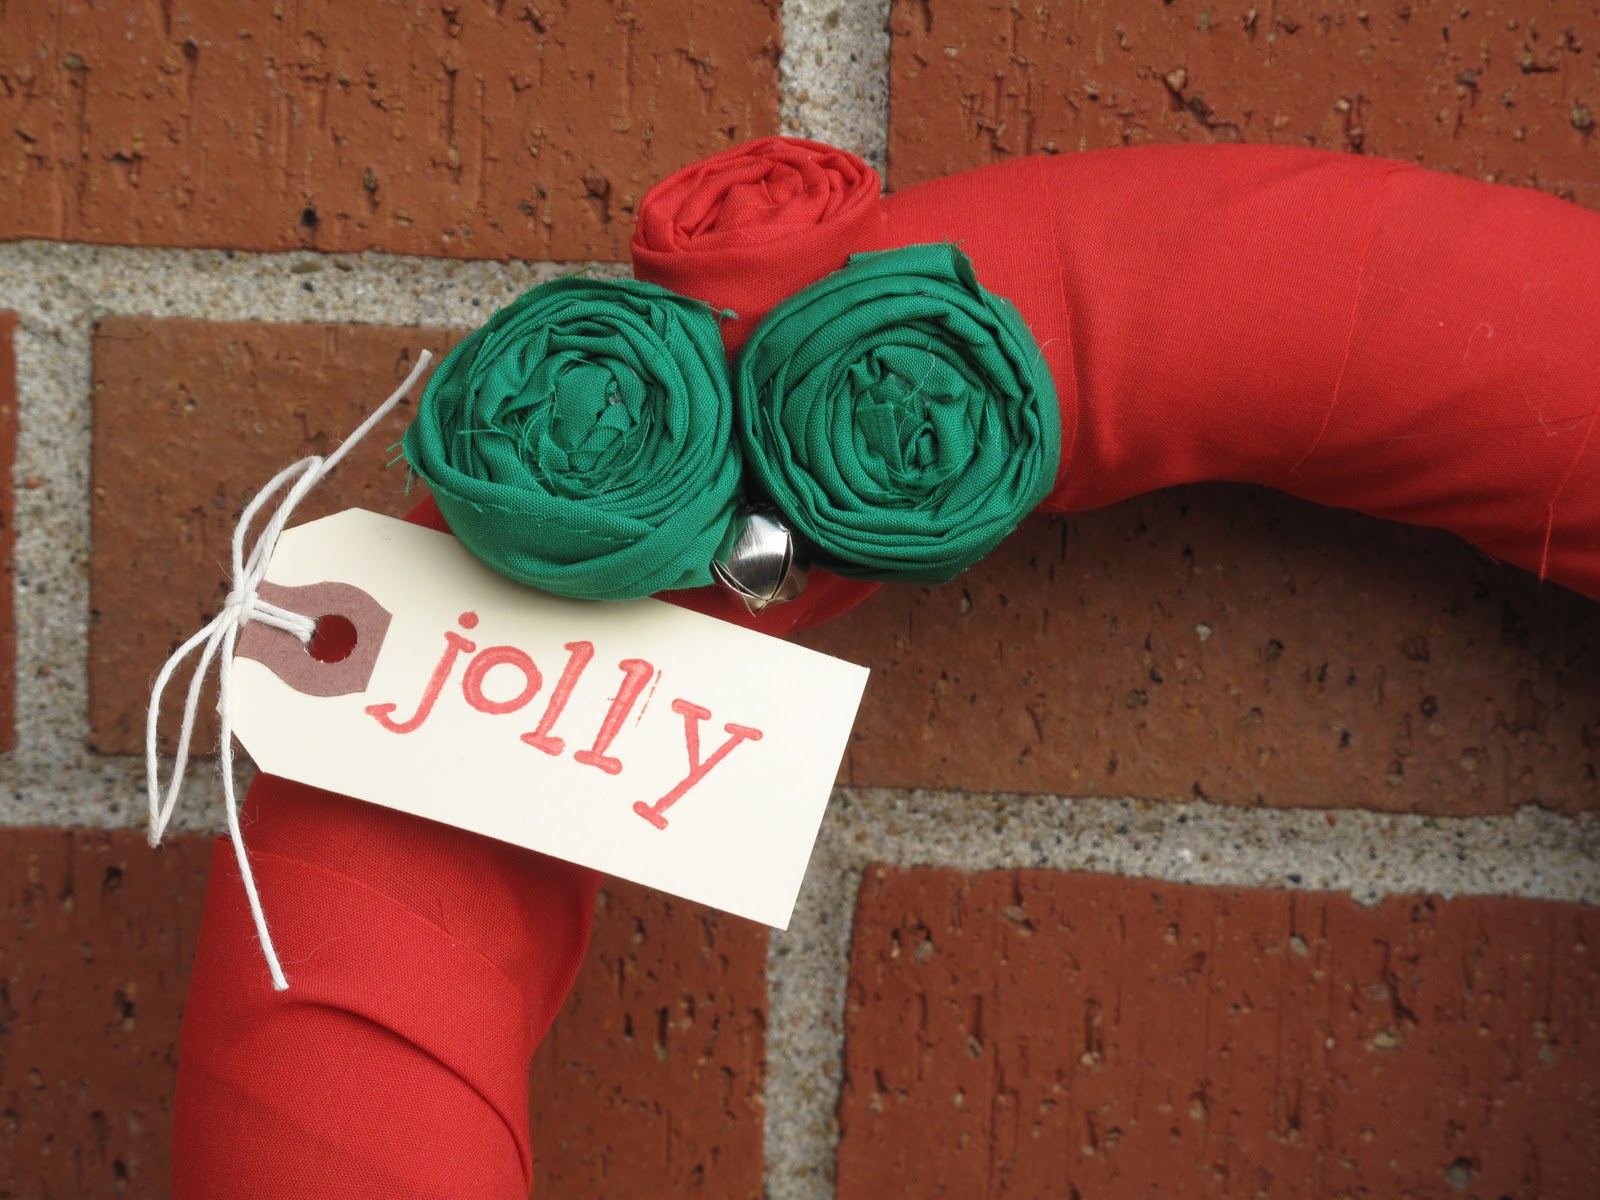
I used stamps and a simple key tag to add a little something special.


Already thinking about Christmas, I made a jolly wreath perfect for the holidays!
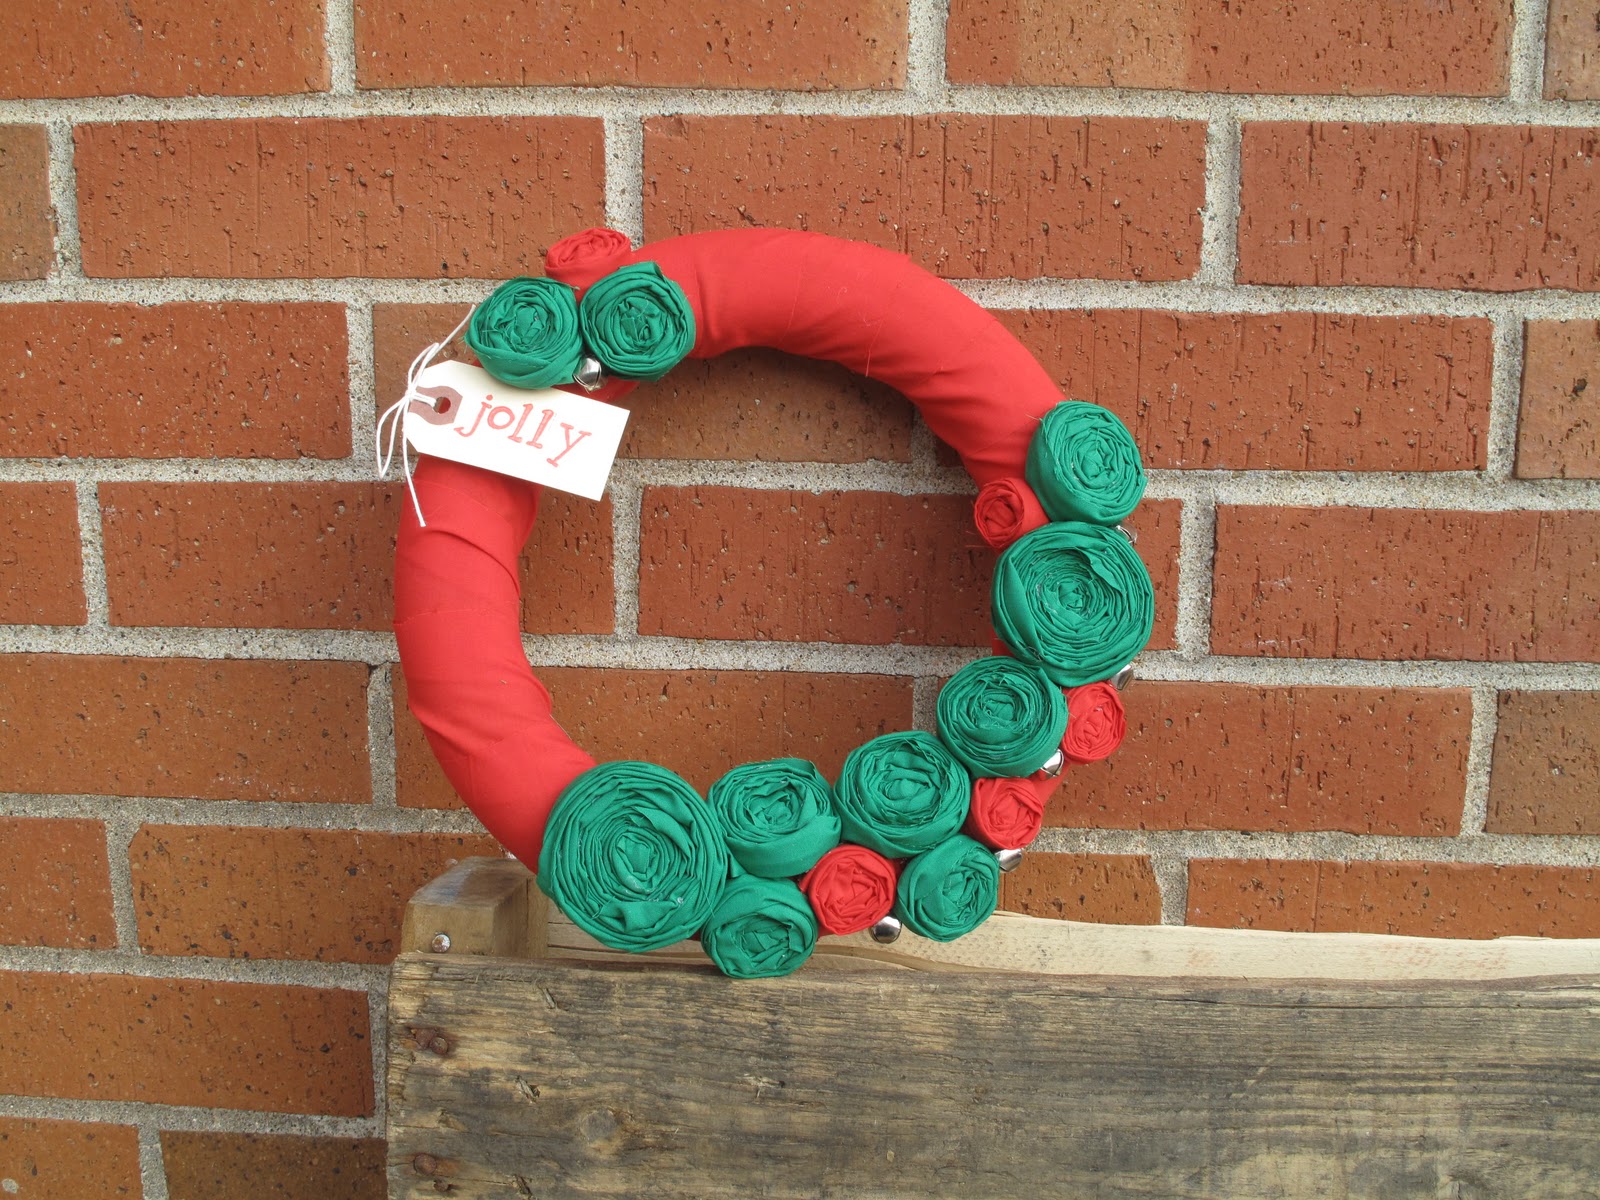
I followed the same process as above, but this time I used red and green broad cloth and jingle bells.

Happy Holidays!
love this idea to hang on my mirror in our dining room….
great idea!
I have always wanted to know how to make those beautiful rosettes. Thank you so much for this great idea. I want to try and make one with my 4 year old daughter!
This is just so cute. I like the Thanksgiving one the best. I think the Christmas one would look better with blue and white and some glitter or something. I just think it’s so unique!
Oooh! Love this one too! Adding it to my list of fun projects to make!
I think I love you! I’ve been wanting to make rosettes for a LONG time and I just happened to find your site this morning! Thanks!
these are great…I will take one of each please!!! LOL
I’ve been making rosettes for headbands and hair clips, but I LOVE LOVE LOVE the wreath! So fun, can’t wait to make one this weekend.
I have been wanting to make fabric flowers. This is so easy 😉 Thanks for sharing this one.
I am SO making this! What a fantabulous idea!
Any tutorial that doesn’t require sewing is doable in my book… Can’t wait to try this one!
I love this tutorial! And I plan to make a version of the Christmas one! I think maybe my little tag will read, “GLORY”…since that is what happened when Christ came to earth in human form and loved mankind even when we were so unloveable…
Glad to discover your blog.
Blessings!
I just LOVE all your “12 Days” tutorials! Thanks for taking all the time involved to post.
Great blog here! Also your website so much up fast!
What web host are you using? Can I get your associate hyperlink for your host?
I want my web site loaded up as quickly as yours lol