
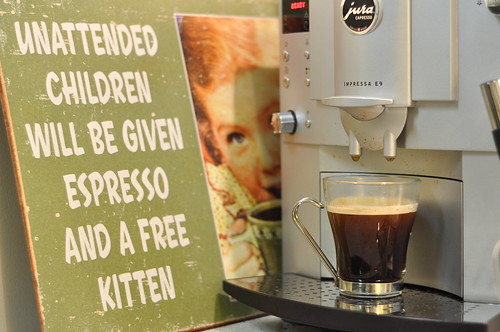
I regret to inform you that the person scheduled for Day 10 could not make it due to unforeseen family circumstances. Guess you’re stuck with me today. But don’t forget to visit the first 9 days, starting here. Love my new sign? I think Todd Wilken may need it for the studio.
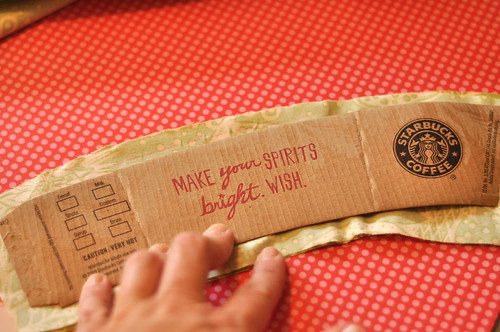
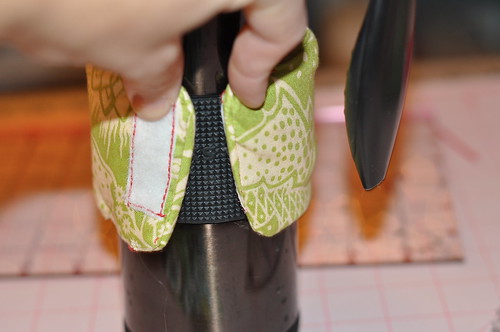
I followed the tutorial pretty closely but found out too late that not all coffee mugs are made alike—so make sure that the template you use {I used a Starbucks coffee cozy} fits your mug–making sure to allow for the seams. For my travel mug, I should have made mine 1 1/4 inches longer than this Starbucks template. Just put your template around your mug and make sure it fits and if not, adjust—making sure to make allowances for both end seams.
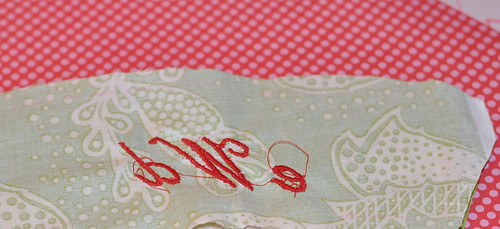
Trace the template onto the wrong side of the fabric {right sides of fabric together} allowing for the seams. {I left about 1/4 inch for the seams on all sides—and as you’ll see later, I should have lengthened my cozy by 1 1/4 inch—-so make sure it’s long enough by wrapping the template around your mug}

Hey Edie! I'm glad to see you putting that new embroidery machine to such good use! I love the Coffee Cozy. Great tutorial and so glad you shared. I have made some new fabric tassel pom poms you need to check out. I think they would be just the thing for the girls! http://mandishandis.blogspot.com/2009/11/scrap-fabric-balls.html
Hope you have a wonderful day!
Cute idea!
LOVE it, Edie. And I know several people on my list that this will be perfect for.
Thanks for sharing!
lol YOU ARE SO AWESOME!! Speaking of seamstress abilities, you should see the bird I made following the tutorial here. On second though maybe you shouldn't. HA! Good thing I never became a Dr, we'd have some Frankenstein wandering the town.
Hi Edie! This has been so much fun!! I have loved every day!!
Last night we had our Thanksgiving party for the ladies of our church and all made coasters from your blog to give as gifts (or in my case keep for myself because they turned out soooo cute). I will post pics from the night on my blog! Check it out if you have a sec and thanks again for giving us all of these creative ideas. Its so fun!!
I wanted to make one for my boyfriend when I found these http://ny-image1.etsy.com/il_430xN.68796745.jpg.
Thanks for showing the tuts!
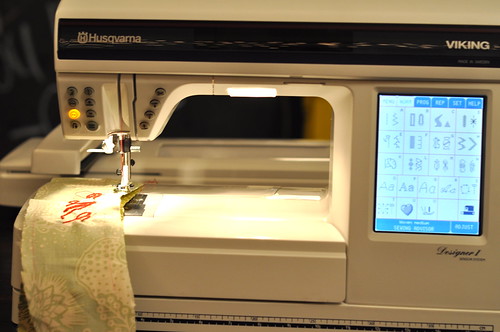
and you definitely have more money than me.. An espresso and a embroidery machine! Lucky girl!
I don't drink coffee BUT I DO love that sign in the first pic. That is HYSTERICAL!! I want that!
You were a great fill-in guest on your blog!
Jen
Great job! There is quite a learning curve with using an embroidery machine. I can't do half of what my machine is capable of. I wish I had taken a class.
Your coffee cozy is a very nice fill in tut!
LOVE the espresso sign & cozys! Espresso is my favorite, so much so I named my kittens Mocha & Latte!
My thoughts go out to whomever was supposed to be the poster today. 🙂
I love signs like those, I have even seen them in actual stores and once in a tattoo shop (kind of weird…).
Awesome tutorial, thank you! 🙂
Edie, I am loving this 12 days of Christmas you put together. Thanks so much for doing this. It is like the "Creating a environment for learning" I could not wait for the next day's post. Just thought you should know you are impacting the world around you:)
I love this great idea. I received a beautiful fall cozy in a swap. It fits my favorite mug perfectly. I, too, have a love affair with coffee. I am currently enjoying a chocolate mint coffee. YUM~
I still need to figure out how to use the embroidery on my machine. I am such a chicken when it comes to that.
Ruth
Super cute! Love it.
Thanks! This is great! Don't be so hard on yourself. You did a great job…now if you only had a skinny coffee mug!
Great tutorial, but I have to say I was totally sidetracked by your beautiful espresso machine. 🙂
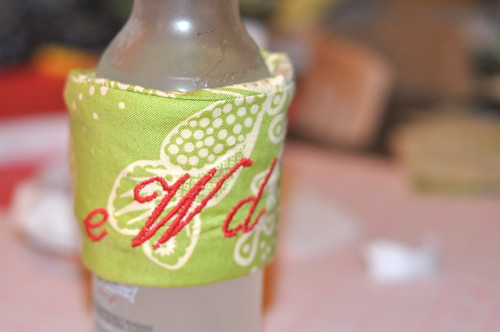
I do love the embroidery on your cozy. I need to make one of these for my sister who frequents Starbucks a little too much.
LOL- H2O cozy?
Love how you are real…That would be MY cozy too…
Look at you and your fancy schmancy embroidery machine! Just keep playing with it. That cozy is super-cute-a-licious!
That sign is hilarious!!!!!! I love, love, love it!
Love, love love the sign!!
And as someone who can barely thread a sewing machine, let alone know what to do with it – I am impressed with your creation 🙂
Cheers,
Cate
http://www.momentsofwhimsy.wordpress.com
I'm not much of a sewer, but I think I could do this!
You are too funny! I think you did just fine given the time constraints. Oh that's right, with espresso, time is not a problem, is it? When did you finish it? My guess is 4 a.m. hehehe
Cute idea – I saw someone do this and said they got it from your sight. Thanks!!!
I am loving your tutorials. I linked to a couple in my most recent blog entry. I can't wait to make the candles and my mom and I are going to try our hands at making coasters! I have recently found your blog and just love it. Thanks for sharing!
love this idea! I recently found your blog and am making the sweater stockings as gifts for my sister-in-law and her fiance!
Thanks for sharing your ideas:)